Thursday 24 February 2011

Embroidery


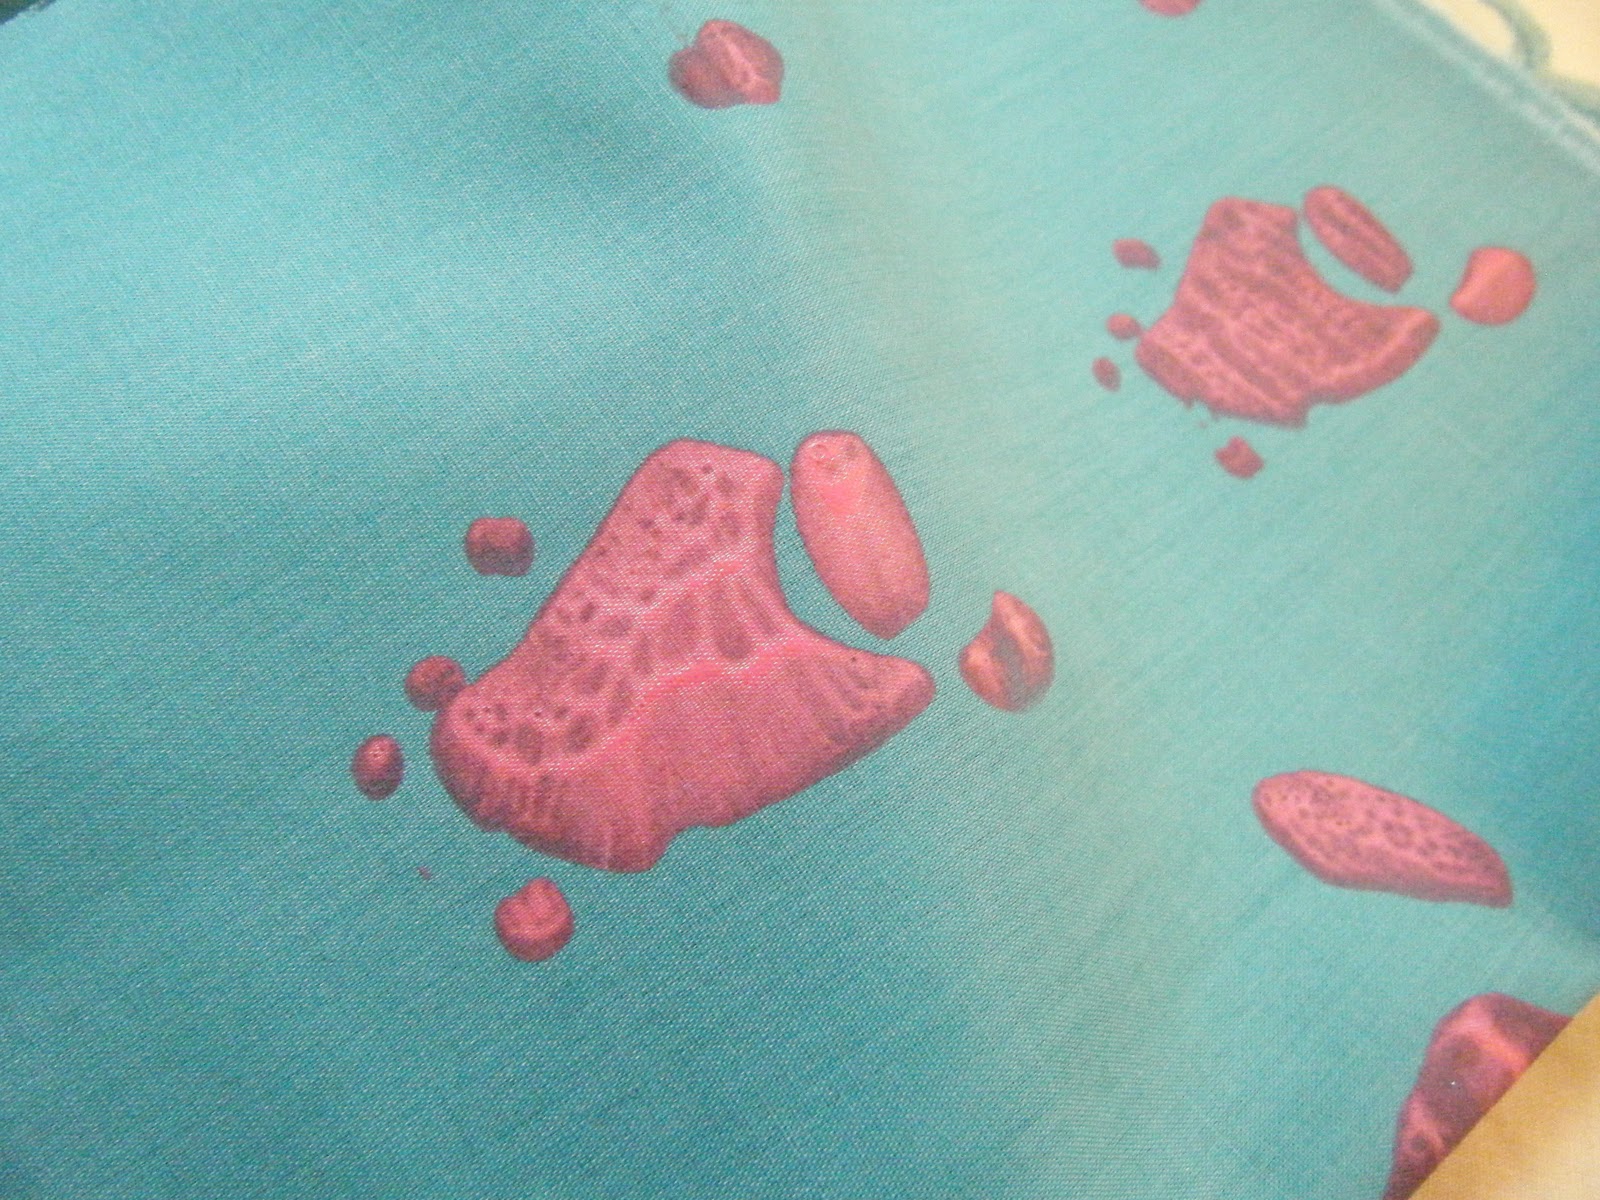
I've been experimenting with different types of embroidery to be used on my final collection - around the neckline, hem on dresses/sleeves, all over...The second example down i created on my domestic machine rather than using an embroidery machine and although using one of these would be neater, i liked the freedom of developing the colours as i go along and the piece evolves. Unfortunatly it puckered all the way around, despite using interfacing, but i have since cut it out and it is fine so i could then stitch this half on/half off the hem for an interseting look. By doing this it also saves the reverse of the garments being messy from the back of the stitching (although this could perhaps be covered with a facing if on the neckline?). Today i finally sent my samples off to fabpad to be printed on crepe de chine which i think would be far too delicate to machine embroider (obviously i'll give it a go on the samples though!) so instead i looked at hand techniques - second from bottom - and i'm really pleased how they have come out! They are much neater than i anticipated and it allows me more control over what i am doing whilst continuing the handmade feel i want to capture without being too messy.

Workshop


This week i have been into the workshop to try and create plastic rings from the flowers above. The idea is to have each colour as a different layer so they are really 3D. I created the shapes at the top in clay and left them to go hard before create a vacuum of the shapes which will then be filled with resin. The shapes were only a couple of mm thick so the mould wasn't very deep so i have made a couple more bigger shapes in clay to develop. Once they have all been moulded i will add pigment to resin and fill the moulds. It is difficult to get the exact shape in clay and so some of the details had to be smoothed over. To get around this i have also emailed about using the laser cutter to cut acrylic, this way the shapes would be totally accurate.


Update: above are the thicker shapes i created which were really difficult to keep in shape but i have discussed with a technician and he agreed that using the laser cutter will be much more effective in terms of precision and time.

Monday 21 February 2011

Grandma the great


I am beginning to design my simple dresses and want to create shapes which are timeless and feminine. I came across this picture of my grandparents in the late 60s and fell in love with my grandmas dress, it totally captures the retro and classic feel i want to achieve. Go Grandma!

Saturday 19 February 2011

Marni necklaces


A selection of Marni necklaces from various seasons. I love the chunky plastic aesthetic layered over busy prints to give a really textured ecclectic look. A lot of my floral prints involve layered flowers and i think these would look really interesting with each colour/shape layered on top of another and linked together with tangles of chains and embelished with broken jewellery. Another idea to discuss with the lady in the workshop (as well as L5 necklaces) is to recreate the retro beads i posted about before in 70's colours and create an arrangement of these.


Tutorial 18/02

I had a really positive tutorial today which im relieved about! Although i had discussed my ideas with the tutors they never got around to looking at my prints so today, with a wide range finally developed i showed Anne and Tony and discussed where my project is heading. Main points:

  • I only have enough money to get samples on 1 fabric from fabpad so it was suggested i get crepe de chine as this will be the most difficult to work with (i will also use a jersey or cotton) and test embroidery etc on it.
  • Don't make dresses reversible (phew!) but accessories still can be. This allows me to develop the idea of built in textile neckalced without having to worry about how they will reverse/detach. Also keeps construction really simple. Dresses will still have 'Beach to BBQ' context.
  • When designing look at scale of prints on dresses eg could be ditsy at the bottom and get bigger and bolder at the top.
  • Look again at Marni necklaces.
  • Push everything as much as possible, be bold! Can always pull it back in again.
  • Make the trends, don't worry too much about what is already going on.
I am really pleased about the suggestion to make the dresses reversible as i was worrying about how this was going to work and it allows me to really develop the idea of collar necklaces without worrying how they will reverse. After an induction in the workshop last term i really wanted to look at developing resin beads (see post: retro beads) but i have had the idea to try and recreate the shapes from Negotiated Studies but in one colour plastic.


Thursday 17 February 2011

NY fashion week lovelies


Embroiderey at Rodarte and Preen and cute 70s prints at Marc by Marc Jacobs. All gorgeous!!

Cross stitch how to!


I found a tutorial for how to achieve a cross stitch effect on Illustrtor and thought it would be particularly appropriate as i am exploring textiles.
  1. Create a cross on Illustrator using the line tool whilst holding down the shift key to ensure it is at 45 degrees.
  2. Copy and paste the cross in lines to create a grid .
  3. Create a new layer and place this underneath the grid.
  4. File > Place insert the picture you want to stitch.
  5. Decrease the opacity of the grid so you can clearly see the design underneath.
  6. Select and colour each cross accordingly.
  7. When finished, select one of the un-colouured crosses and using the selection tool select to highlight all others of the same stroke and weight.
Although i love the effect of this, due to the delicate nature of it the colours don't translate very well and you can't really distinguish them. Having said this i think this might come across better on fabric so i will send it off as one of my samples to see if it is clear.

Wednesday 16 February 2011

Eden 2


I created a new range of prints from the photo in the previous post, selecting 6 small sections to repeat and arranging them together to make 1 print. I then used the live trace tool set to 6 colours to give a really clean graphic feel and opened the result on Photoshop and applied different filters at various intensities for a bolder and cleaner finish. I am really pleased with the results and will explore this technique more, composing a print with multiple selections repeated as before i have just been choosing one and although some are effective, sometimes it looks too structured. The last 2 colour compositions (achieved using Kuler then adjusting some of the darker colours so they are less harsh) are my favourites and i think they would look interesting with some of the colours picked out in small beads to add texture.

Eden picture


From the photo at the top (my own from the Eden Project) i have made these repeat prints by selecting random sections and applying different filters for a more graphic look. They are really different from the prints i have created before which is exactly what i want to achieve. The second one down has a kind of tribal feel about it and i can imagine it on a slouchy dress/long t-shirt with chunky wooden jewellery (perhaps i could make this myself??).

Tuesday 15 February 2011

Screen Printing


Last week i went in the dye room to do some screen printing and it was a bit of a disaster! The inital shapes (the yellow in the 1st and 2nd picture and the 3rd) came out really crisp and clean but after washing the screen down a couple times the further shapes bled and did not work at all. The idea was to layer up 4 different shapes in different colours to create the pattern but this was unsuccessful so instead i have worked into them back at home on my sewing machine (see images below). I chose to print on plain fabric and a polka dot and a striped one to see how well the screen print covers the pattern on the fabric. In the case of the striped fabric this worked well as the pink was the right consistency. Although the yellow used on the polka dot was the same consistency, i think because it is a much lighter colour the dots showed through but i really like the effect as it makes the paint blend in more rather than look like it has just been plonked on the top! 


The first sample was an experiment with quilting as i layered wadding underneath but not enough to have an obvious effect. As it was difficult to appliqué accurately i traced around the outline freehand and this looks much better. In the second i used the stitches to suggest the outlines and although i like the effect of only certain parts being printed there is something missing but i think it could be that the composition is too simple - originally these were the base for several overlapping layers. In the final sample i bought together any scraps i had left and layered them over the last screen print. I am really pleased with the result and think that with a sophisticated colour palette this could work really well to add texture to my product. 


Vintage inspiration


This weekend i took a trip to a local reclaim centre and antique church as everytime i leave i always feel really inspired! The church in particular is amazing, there is so much stuff in there that i usually spend a good couple of hours having a rummage! This time i was a bit sad to see they have fallen victim to the whole what i call 'cupcake' movement - bunting, cupcake cases, tea sets etc and whilst i love all this i think its beginning to get a bit overated! I did however love the lettering on the bunting as this is something i have never seen before and gives it a fresh update as opposed to having lettering on the triangles. It would be a good way to promote the hand made feel to my brand and could be used in the background of a photoshoot saying 'Beach Hut to BBQ' (although i might work on the name in this project...). The main thing that i loved on my trip was the mix of worn wooden furniture and vintage floral cushions and lampshapes which would be interesting props although i think maybe vintage velvet lampshapes would be better as the prints may be too much with those on my garments. I love the idea of having a BBQ type set up in a field but with a shabby sofa and other interior elements.